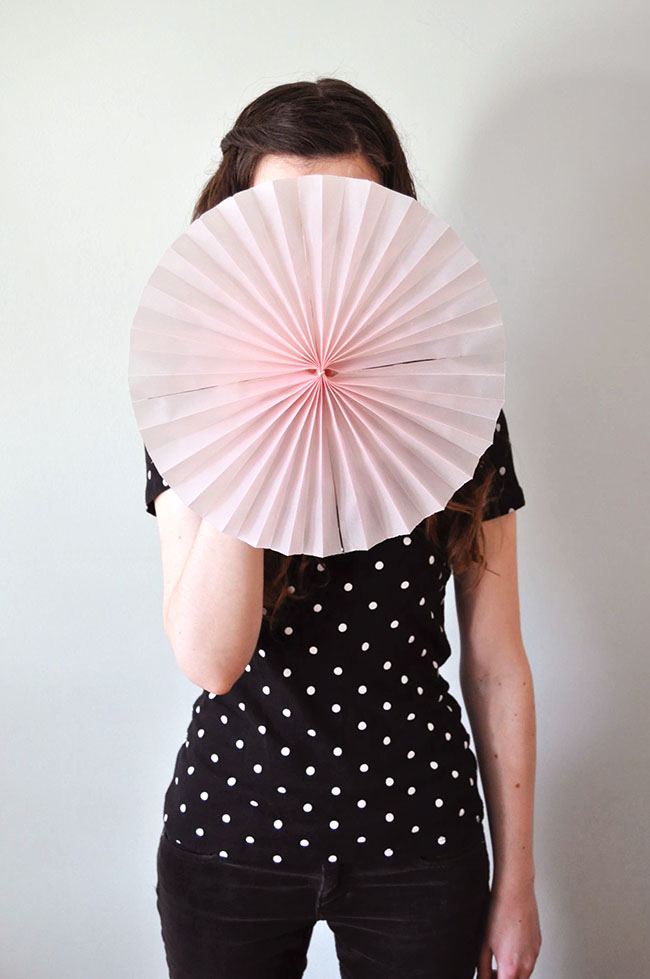
Below is a quick little tutorial if you want to make your own pinwheels for a photo backdrop at your next party. They're so simple, and you can use whatever colours you like!
Supplies: Assorted paper/vellum, ruler, bone folder, clear tape, scissors, glue stick, string.
Step 1: Use your ruler and bone folder to make the first fold on your paper (the paper picture is 12" square).
Step 2: Keep folding back and forth, accordion-style.
Step 3: If you reach the end of the paper and are left with an uneven edge, don't worry! Just trim off the excess.
Step 4: The same goes for the ends - if they are uneven, simply trim them.
Step 5: Fold the accordion in half. Because I used a 12" square paper, I then repeated step 1 to 4 on another identical paper. If you are using wrapping paper or other large paper, you can instead start with a piece that is twice as long as it is short.
Step 6: Use clear tape to attach both accordions together (if using two papers).When taping the pieces together, it's easiest to match them up if the neighbouring accordions look like WW or MM. Trim off an extra fold if necessary.
Step 7: Use string to tie a knot in the middle of the fan. This is how you can attach it to the wall later.
Step 8: Tape the remaining loose sides together, being sure to tape only on the back.
You can also cut edges and patterns into the accordion before you tape it together to create fun patterns - kind of like a snowflake!


Hi Kathleen! I didn't know that was your work. It was so beautiful. Great job. It was such a pleasure meeting you this week. I look forward to following your creations!
ReplyDeletexo anne
Thank you so much, Anne! I'm so glad we met! :)
DeleteKathleen, the backdrop was fab! Great tutorial!
ReplyDeleteIt was lovely meeting you at Alt!
Thank you Emmily! :) It was great meeting you too!
DeleteHi Kathleen! I was just going through some old blog posts on Damask Love and saw a comment from you which reminded me that I had to send you a message and say how great it was to meet you at Alt! You are so cute and creative and I'm happy to know you. Keep it crafty, girl.
ReplyDelete