

Friday, 7 March 2014
Shamrock Money Cakes
I haven't had a money cake in forever - my grandma used to make them for our birthdays when we were little. I put a little Saint Patrick's Day spin on them this week over on Oh Happy Day - take a look here.

DIY Circus Party Hats
I love party hats - they're such a fun way to involve the theme of your party in every photo taken! Take a look at these circus party hats I made for Oh Happy Day - the full instructions can be seen here.

Wednesday, 19 February 2014
Matchbox Birthday Card
I had lots of fun crafting and photographing my most recent project for Oh Happy Day - and not just because I ate the cupcake after! Repurpose a matchbox and a birthday candle to create a playful birthday card. See the full post here.

Tuesday, 18 February 2014
DIY Paper Net Garland
Lately I just can't get enough of vintage craft books - some of the ideas are pretty silly, but others have so much potential! This garland was inspired by Christmas decorations in an old girl scout craft book. See the full post over at Oh Happy Day!

Friday, 7 February 2014
Nautical Valentines
With Valentine's Day right around the corner, most stores are full of festive decorations, toys, and treats. While at my local dollar store, I was surprised to see they already have summer beach toys available! Even though the summer is still a few months away, I thought it would be fun to repurpose some toy boats into these cute Valentines.


Thursday, 23 January 2014
Bing Photo Backdrop
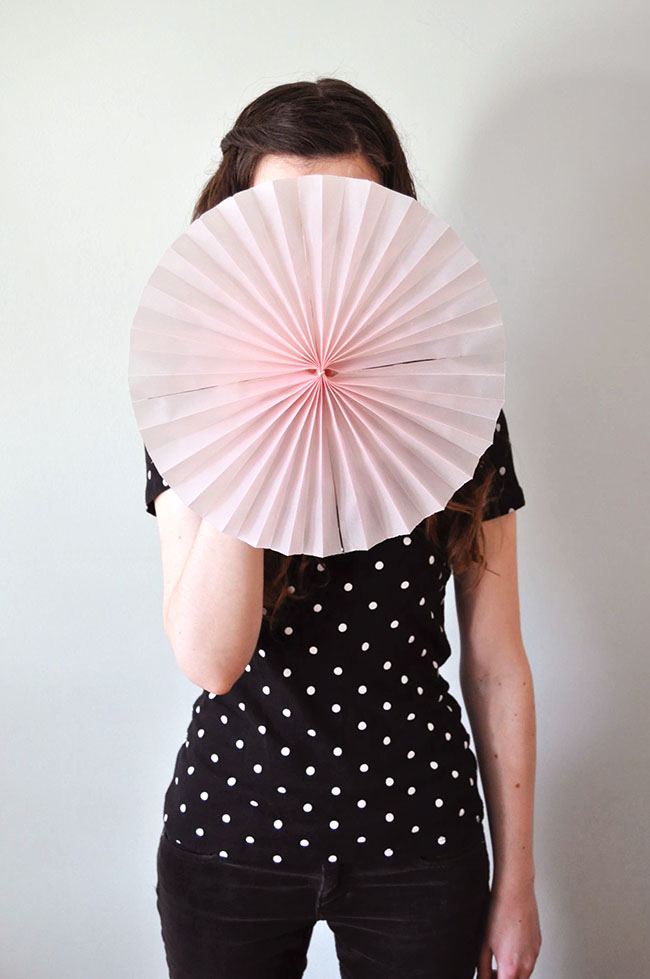
Below is a quick little tutorial if you want to make your own pinwheels for a photo backdrop at your next party. They're so simple, and you can use whatever colours you like!
Supplies: Assorted paper/vellum, ruler, bone folder, clear tape, scissors, glue stick, string.
Step 1: Use your ruler and bone folder to make the first fold on your paper (the paper picture is 12" square).
Step 2: Keep folding back and forth, accordion-style.
Step 3: If you reach the end of the paper and are left with an uneven edge, don't worry! Just trim off the excess.
Step 4: The same goes for the ends - if they are uneven, simply trim them.
Step 5: Fold the accordion in half. Because I used a 12" square paper, I then repeated step 1 to 4 on another identical paper. If you are using wrapping paper or other large paper, you can instead start with a piece that is twice as long as it is short.
Step 6: Use clear tape to attach both accordions together (if using two papers).When taping the pieces together, it's easiest to match them up if the neighbouring accordions look like WW or MM. Trim off an extra fold if necessary.
Step 7: Use string to tie a knot in the middle of the fan. This is how you can attach it to the wall later.
Step 8: Tape the remaining loose sides together, being sure to tape only on the back.


Tuesday, 14 January 2014
Gold Medal Badges

Are you excited for the winter olympics next month? You should make these gold medal badges to celebrate! See the full tutorial right here on Oh Happy Day.
